I got interested in non-Leica LTM lenses when I discovered how compact & relatively inexpensive they were. Nikon (aka Nippon Kogaku) and Canon in particular developed some really interesting lenses that are worth trying out today.
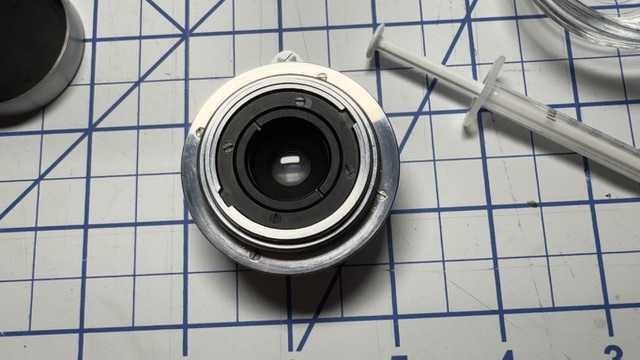
I bought this Canon Serenar 35mm f3.5 LTM (Leica Thread Mount) lens on eBay. Externally it looked great, but there was a strong haze inside so I opened it up to see if I could clean it. This was one of the first lenses I’ve opened so it was a learning experience.
There aren’t a lot of notes online about how to open up this lens, but I did find a fairly exhaustive one by Mark O’Roussa https://markorussa.wordpress.com/2016/01/14/canon-serenar-35mm-f3-5-clean-lubricate-adjust-cla/. I recommend you read his post, and use mine as a secondary reference.

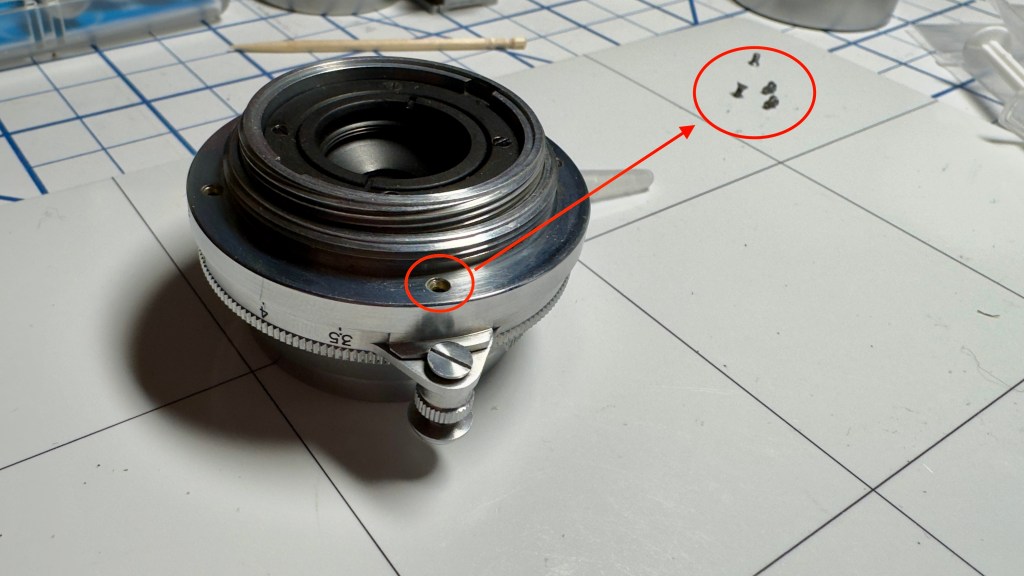
With the 4 screws removed, the helicoid will unscrew. Use a well-fitting screwdriver – the Vessel precision sets are high quality. I think I used the 2.3mm size.
Helicoids are multi-threaded, which means then can start threading at multiple positions, so before removing the helicoid from the body take note of where it disengages and try to re-thread it at the same point when you’re reassembling. If you get the starting point wrong, the helicoid will end up in the wrong position and the focus won’t work correctly. You’ll eventually get it with trail and error but it will take some time.
By the way, I always work on magnetic mats because they tend to keep the screws and other small lens items from rolling away. Most of the time I don’t even bother with little boxes to hold components because the magnetic mat does a good enough job.
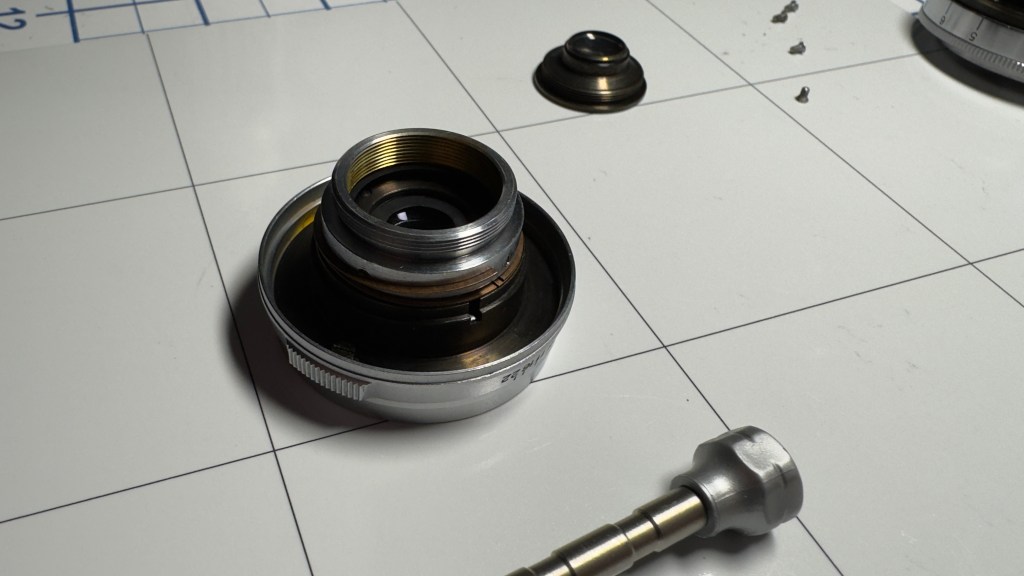
Now you can pull off the assembly – I’ll call it the “rangefinder helicoid” because it houses the helicoid that moves the rangefinder lever arm. As you’ll see, there’s another helicoid which translates the lens assembly itself. It has a different pitch to map the 28mm focusing motion to that of a 50mm lens (rangefinders are all calibrated for 50mm lenses, or thereabouts).
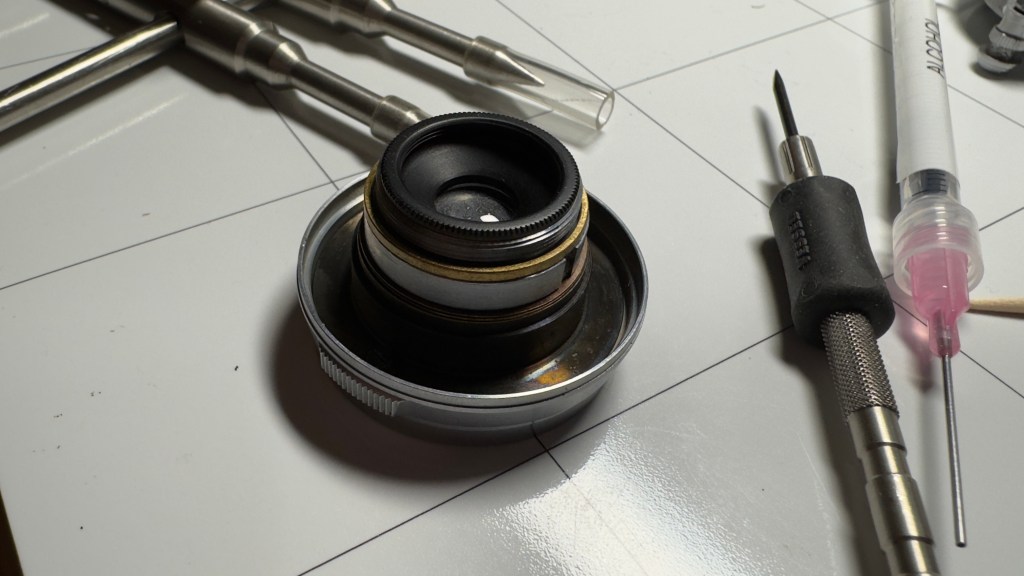
This is the lens with the rangefinder helicoid removed. The piece shown is the lens helicoid with the lens block still attached.
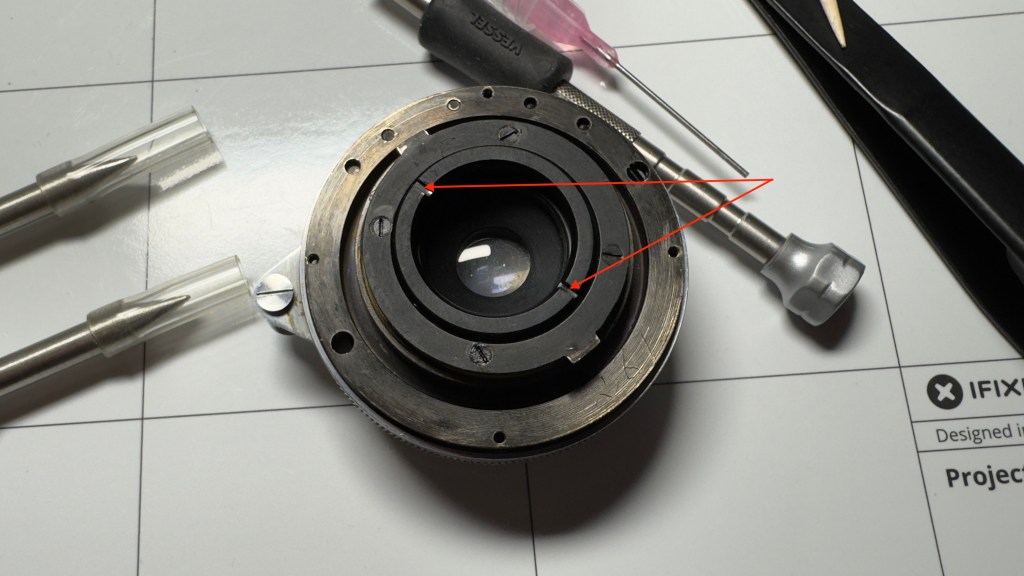
The inner ring holds the lens helicoid assembly to the lens block. Unscrew it with a lens spanner by engaging the two notches in the picture. Once it’s removed, the lens helicoid assembly will lift out and the lens block with the aperture will be all that’s left.
The back element of the lens has a knurled edge. You might be able to remove with a latex glove, if not use a rubber sheet or something else to get a good grip.
Here’s the remaining assembly with the back element removed. This was the element I wanted to remove & clean.