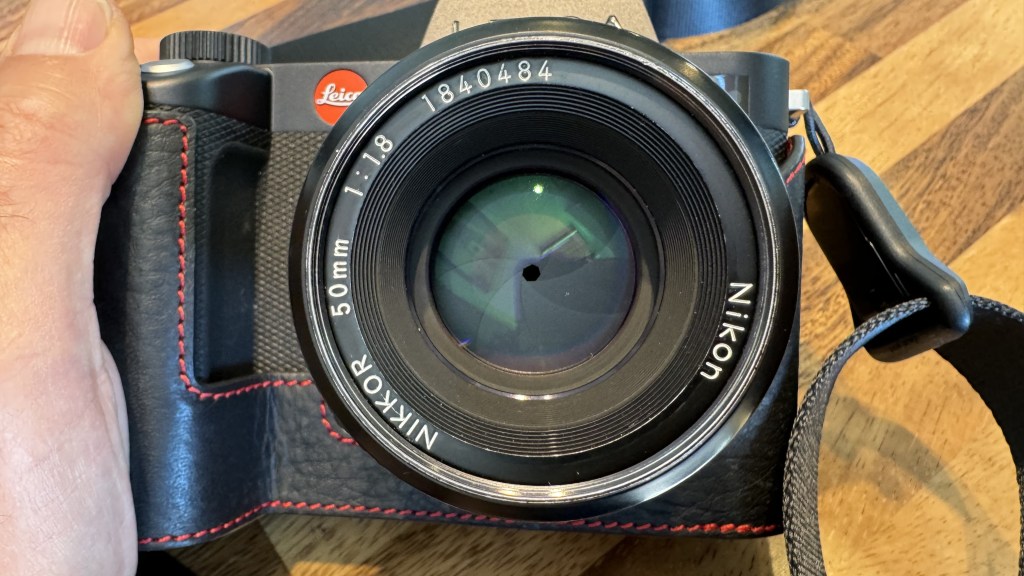
This lens had rough focusing and a slightly gritty aperture ring. Fortunately the aperture blades were clean, but the optics were hazy and dusty.
I used Richard Haw’s excellent breakdown as a guide – if you want to read just one explanation of how to tear down this lens, read his. It’s better than mine, but I hope to provide some tangential details, or at least capture my experience.
In this writeup I’ll only go over taking apart the main body. I did open up the lens eleemtns to clean out the dust and haze but forgot to take picutres. The haze was on the back of the front element, so I just had to remove it and clean it.
Disassembly Instructions
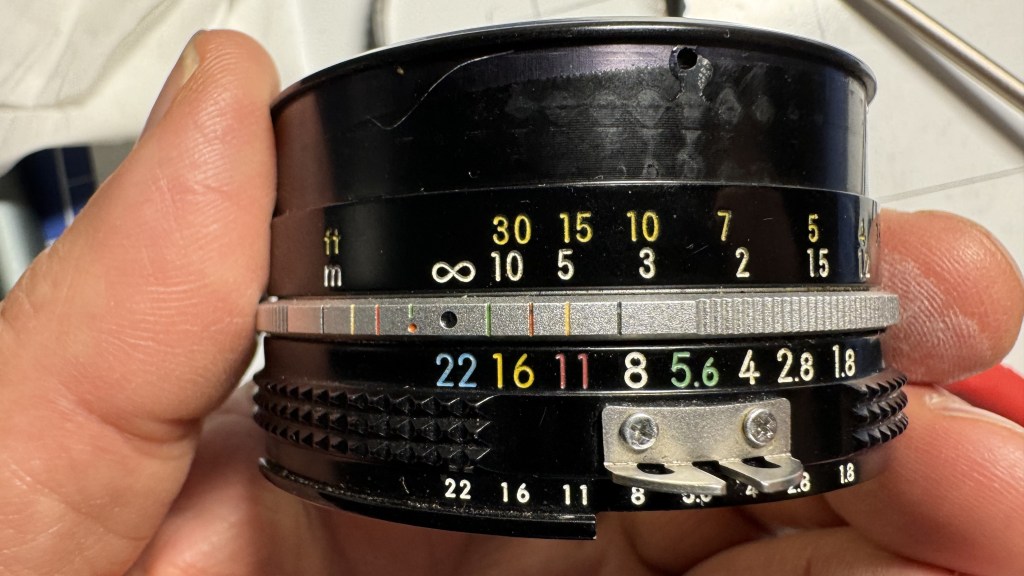
A general technique when working on manual focus lenses, turn the lens to infinity focus and the smallest aperture opening – for the Nikon 50mm f1.8 Ai lens, this is f22. This will help when re-assembling the lens. Also, be sure to take measurements before you totally disassemble major components so you can check your work when re-assembling.
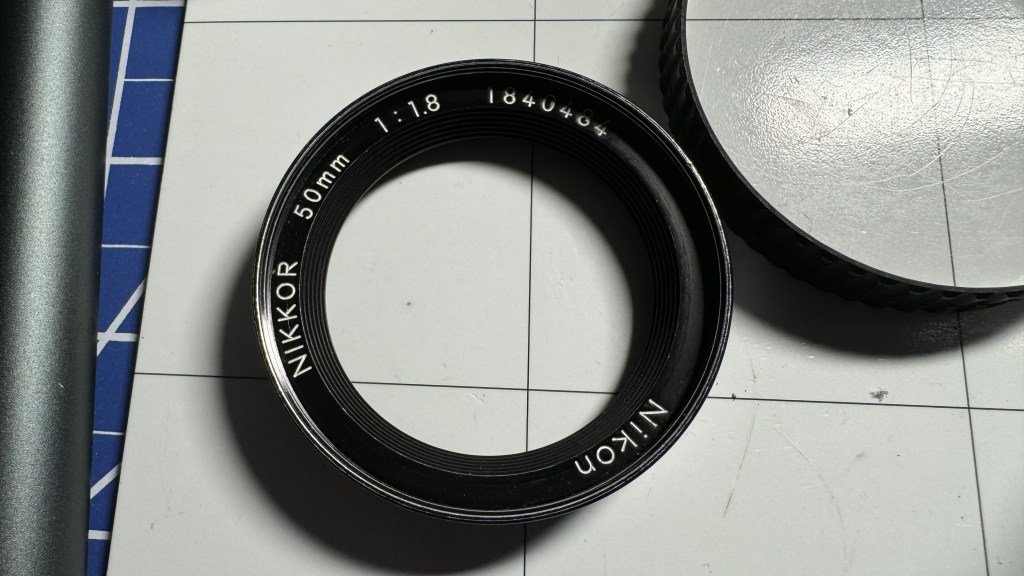
Start by removing the front cover by unscrewing the set screw on the side (not shown). There’s no reason to remove the set screw, just loosen it until the cover is able to turn.
The set screw may be covered with a red locking glue. It will dissove easily in acetone, but be careful not to get the acetone everywhere because it will dissolve the paint in the lettering and the rubber focusing ring. I use a small hobby paint brush onto which I drop acetone from a dropper, then apply the acetone sparingly where needed. It evaporates quickly so you’ll need to keep applying it, little bits at a time. It works quickly, and should do its magic within a few seconds. You can use the brush to remove the locking glue as well.
There’s no need to remove the front plate, but you can if you like.
The optics block will slide out now from the front, so be careful handling the lens at this point. Either wear rubber gloves or be careful not to touch any of the lens elements.
Remove the rubber focussing grip by carefully sliding a toothpic under it then moving the toothpick all around it. Be careful not to tear the rubber.
Now remove the grip barrel itself. There’s a hole in the side of the barrel, and in my copy of the lens, Nikon chose to lock everything by squiriting some kind of locking glue into the hole. Fortunately, it dissolves readily in acetone, but as always with acetone be careful and apply only as much as necessary. I use either a small syringe to apply the acetone where needed, or a paint brush to which I apply the acetone drop by drop.
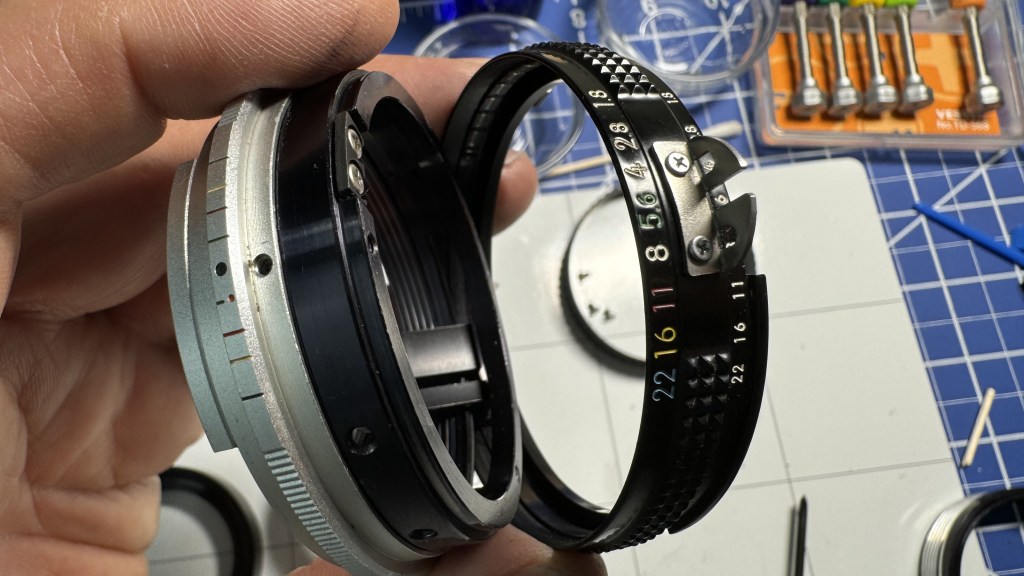
Once the grip barrel is removed, you’ll see that the focusing scale is secured by 3 small screws inside the barrel. Remove them and slide out the focusing ring. When we’re all done, we’ll loosen these 3 screws to adjust infinity focus, so the closer you get them to their original position, the less adjusting you’ll need to do.
To get access to the focussing helicoid mechanism, flip the lens over and remove the 3 screw in the barrel. They can be very hard to remove and neither acetone nor alcohol seem to dissolve whatever glue Nikon used. Heat, however, always works for me. I prefer to use a heat gun, one of the smaller models, heating as close as possible to the screw as possible on high, 30s at a time until I’m able to remove the screw. Incidentally, the screw is a JIS 0 head (not Philips!) so I used a Vessel screwdriver with a beefier handle showin in the upper-right. Precision screwdrivers tend not to provide enough torque.
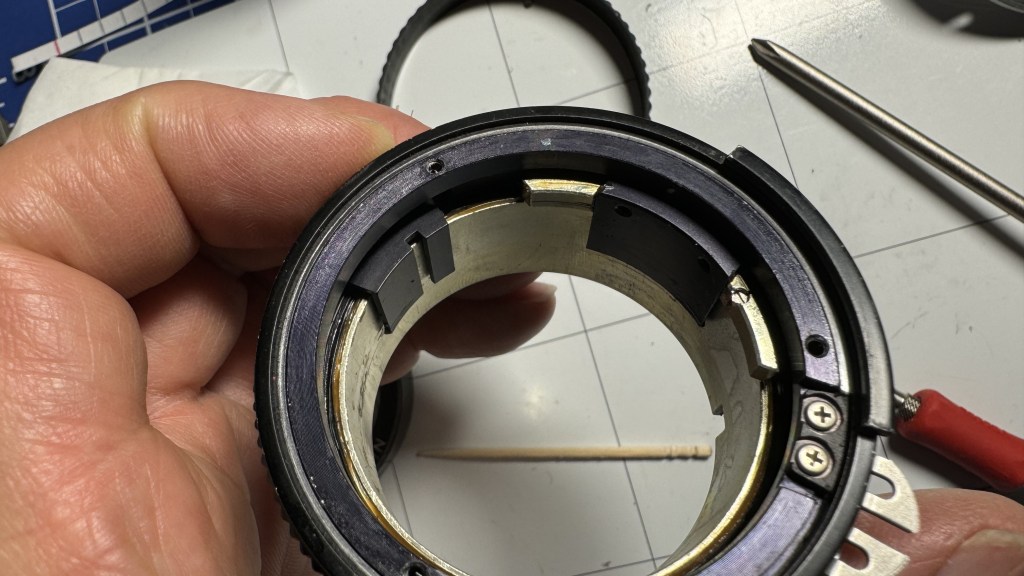
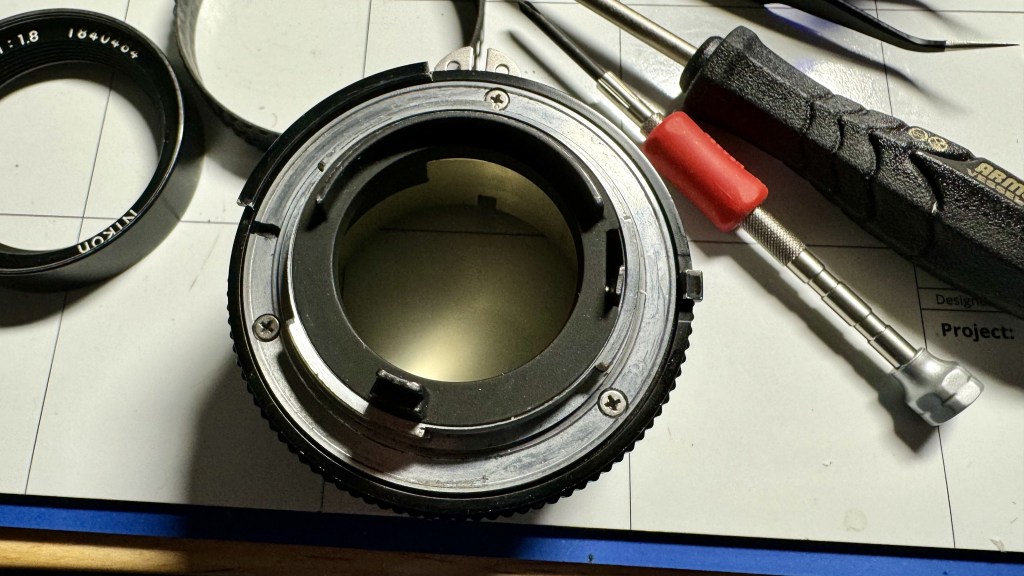
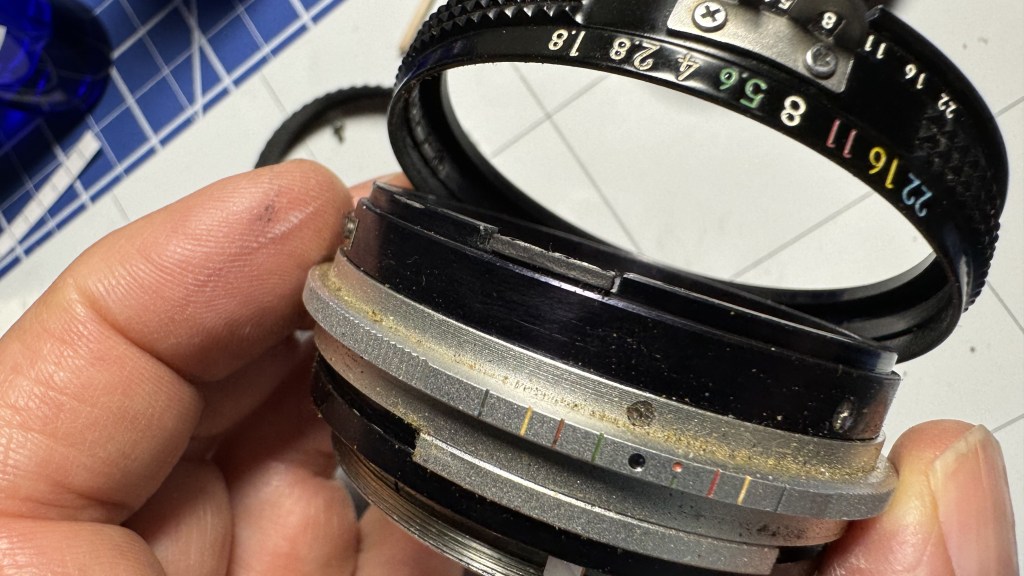
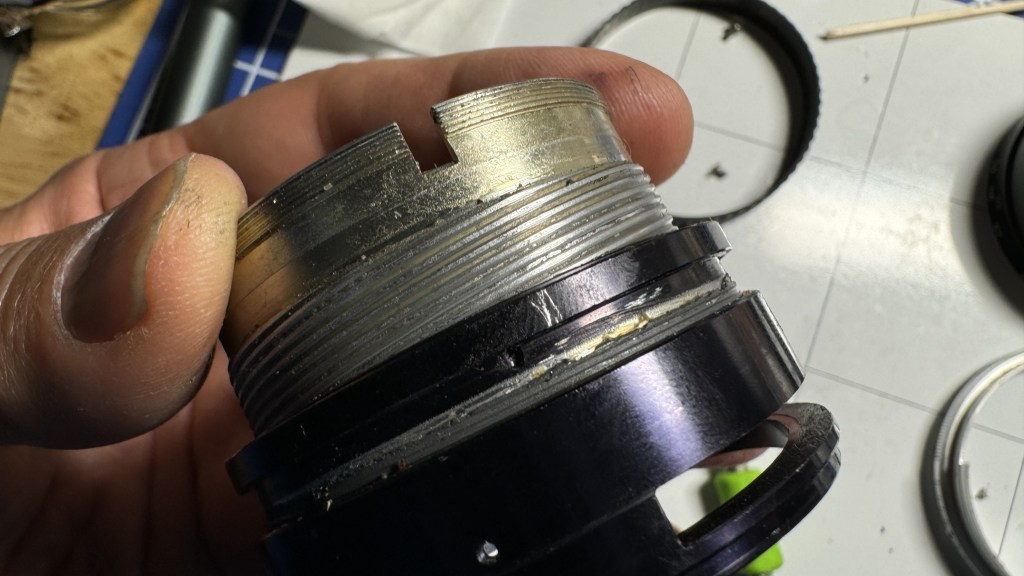
This is what the back of the lens looks like with the mounting flange removed. Take a note of the black tabs that extend into the lens. The one on the right is the helicoid coupling key that couples the focusing and lens helicoids. The tab on the left, with the slot, is couples to the aperture adjustment.
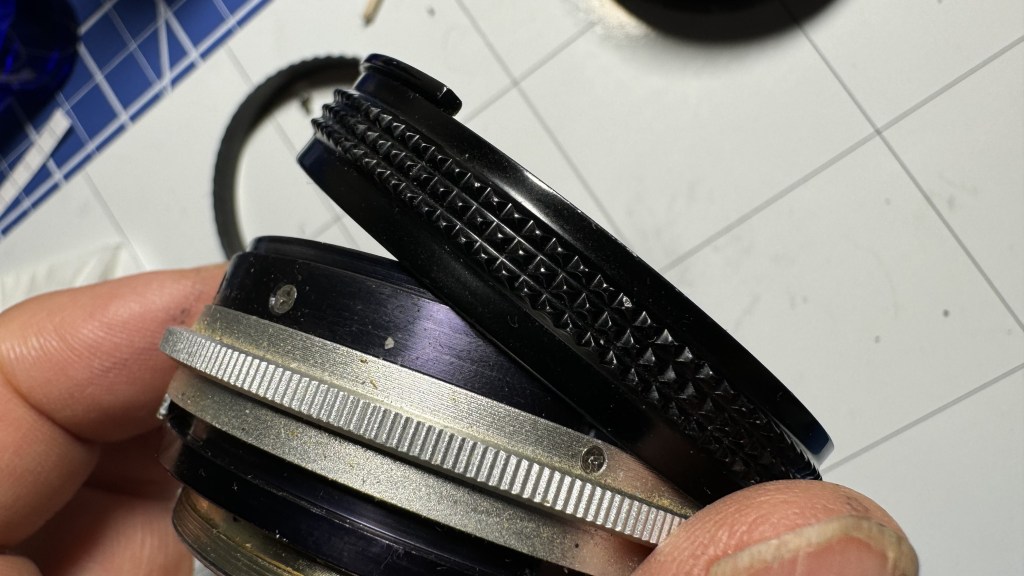
The aperture adjustment ring will come out but you wont’ be able to remove it until you loosen the silver knurled ring just below it.
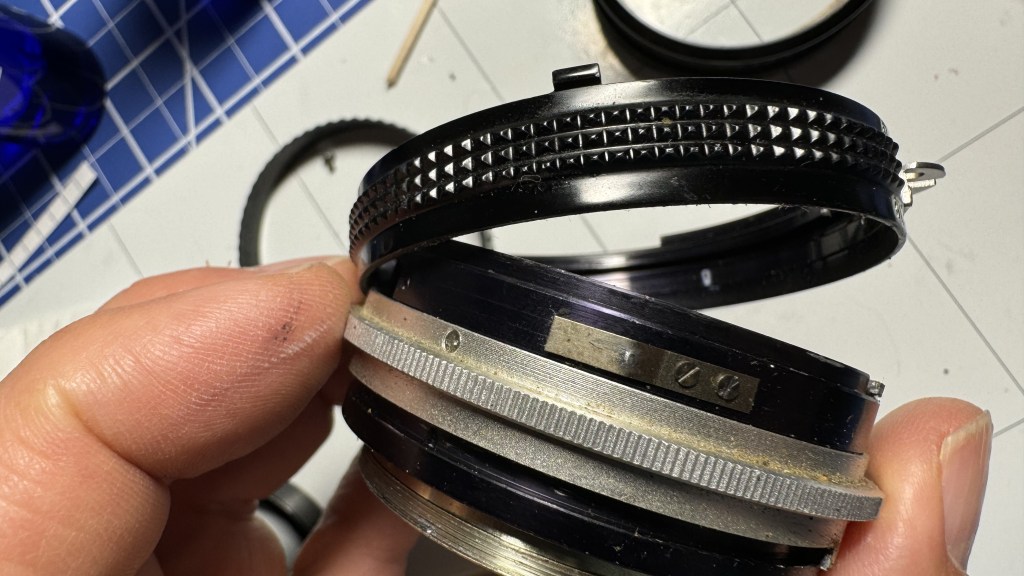
Make a note of how the silver knurled ring is oriented so you put it back in the same position without a lot of trial and error.
Before removing the helicoids, measure the overall height of the assembly using a pair of calipers and make a note of it. Also note how the various pieces are oriented. You’ll want to make sure the overall length and component orientations are correct before doing the final assembly, otherwise your focus will be off.
Once you slide out the silver knurled ring you can go ahead and separate the helicoids. I’m calling the “lens helicoid” the upper helicoid that holds the lens housing, and the “focusing helicoid” the helicoid with threads on the inside and outside. The outer threads of the focusing helicoid are finer than the threads of the lens helicoid. As always with helicoids, be gentle with them, and make a note of where they separate. Even a very small dent in the helicoid can render it useless, or at least stuff and unpleaseant to use.
With the silver piece loosened, you can slide out the aperture adjustment ring. It’s possible to avoid having to move the knurled silver ring out of the way by removing the aperture coupling tab from the ring, but the screws are very small and delicate and Nikon used some kind of acentone-resistant glue. I didn’t want to strip the screws, so I just left them in place.
That’s it for the disassembly. Clean everything carefully. I use 99.9% isopropyl alcohol, soaking small pieces and agitating them with a small hobby paint brush, or kimwipes soaked in alcohol.
To clean the helicoids, I use a coarse shop towel, microfiber towel, 99.9% alcohol, a stiff hobby paint brush dipped in alcohol, toothpicks, and whatever else I need that’s non-scratching. Some repairers use detergetns and a tooth brush. The goal is to get all the old grease off the helicoid so all surfaces are smooth and polished. Be gentle handling the helicoid parts. The slightest dent or scratch will affect how the lens focuses, or will render it inoperable. I know because I dropped and dented a helicoid recently and spent an entire weekened trying to repair it, without success.
I used EM-30L grease using a fine flat hobby paintbrush. EM-30L was a bit too stiff, I’d probalby use JHT #10 if I had to do it again, to give the lens a softer feel, but the EM-30L still gives a very smooth, pliable focus experience. Whatever greast you sue, apply the greast very sparingly, and work the helicoid back and forth to let it squeeze out any excess. Wipe up the excess to avoid it migrating around your lens.
Also apply a small amount of grease on the aperture adjustment ring detent slots and the detent spring.
